Financing on Feeders also now available! Payments less than the amount of money you’ll save on Hay Costs!
What’s the difference between thriving livestock and a barn full of ruined hay? Proper storage.
Improper hay storage can lead to mold growth, nutrient loss, spoilage, and even fire hazards. All of which can cost you money, compromise animal health, and waste months of labour.
You need to know how to store hay correctly because it has a significant impact on feed quality, livestock performance, and overall farm efficiency, regardless of whether you own a commercial farm or a small-scale homestead.
In this article, we will cover everything from choosing a site to stacking techniques and climate considerations. This will give you the knowledge you need to prevent mold and reduce waste from your stored hay.
Hay is harvested forage, typically grass, alfalfa, or legumes, that’s dried and baled to preserve its nutrients for long-term use.
However, even though hay is considered “dry,” it is still very susceptible to environmental factors. A single mistake in storage can change your nutrient-rich bales into moldy, inedible waste.
Poorly stored hay results in:
If you’ve invested time or money into quality hay, protecting that investment with innovative storage methods is non-negotiable. Below are some steps you can take to keep your hay fresh and mold-free.
Before storing hay, the baling process must be done properly. Storing hay that’s too wet is the number one reason for mold formation and spontaneous combustion.
| Bale Type | Moisture Range (%) |
| Small Square Bales | 15 – 18% |
| Large Square Bales | 12 – 16% |
| Round Bales | 12 – 15% |
| Wrapped Haylage Bales | 40 – 60% |
Use a reliable hay moisture tester to check several bales per batch. Moisture levels above 20% are too high for dry storage and should be either dried further or ensiled (as haylage or silage).
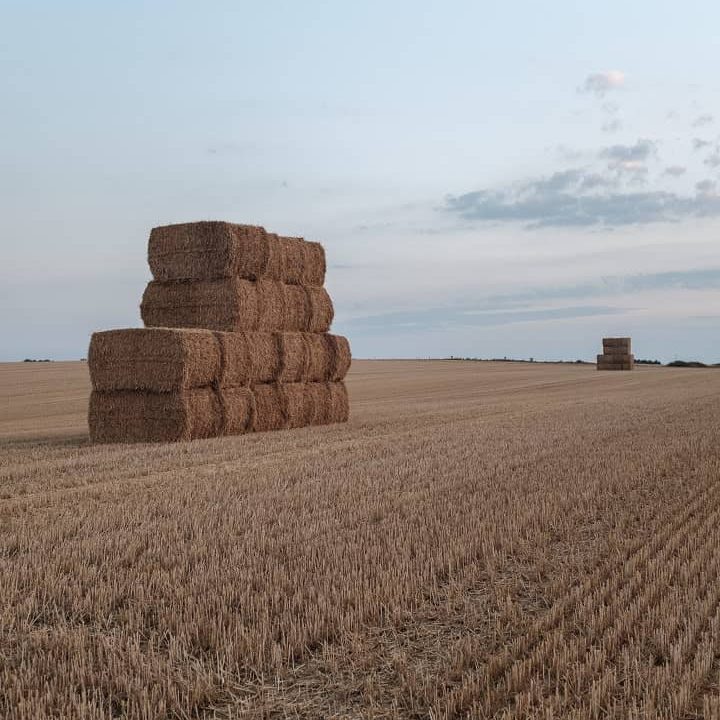
Where you place your hay is the single most crucial factor in preventing mold and waste.
Outdoor storage is standard on farms with limited infrastructure. If done correctly, it can work — but it requires extra caution.
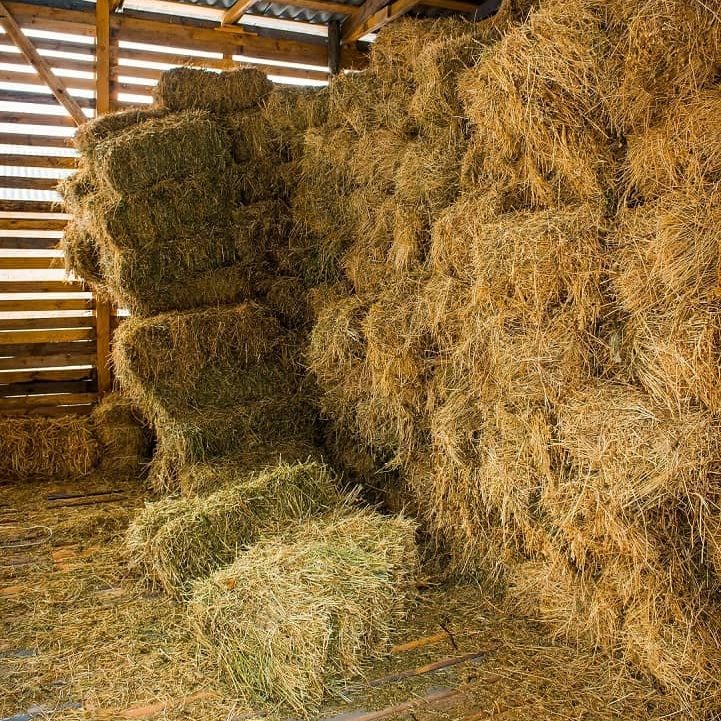
An enclosed barn or hay shed is ideal for long-term storage.
Indoor hay barns pay off in the long term by saving feed, reducing mold risk, and simplifying access during adverse weather conditions.
When storing hay outdoors, it is essential to protect it from the elements.
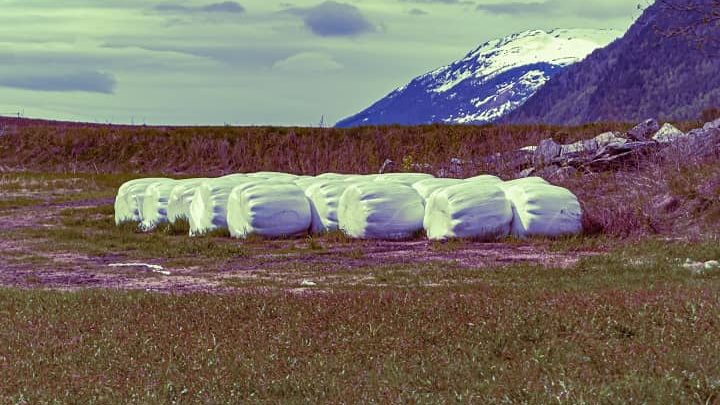
Tarps are affordable but must be used correctly:
Modern round bales often use plastic net wrap or film. While helpful in shedding water, they don’t eliminate the need for elevation or protection.
Moisture that gets trapped inside a stack of hay bales will inevitably cause mold or heating. Ventilation prevents this by allowing warm, moist air to escape and fresh air to circulate.
In humid climates, mechanical ventilation will be necessary during the summer or rainy seasons to remove excess moisture from the air.
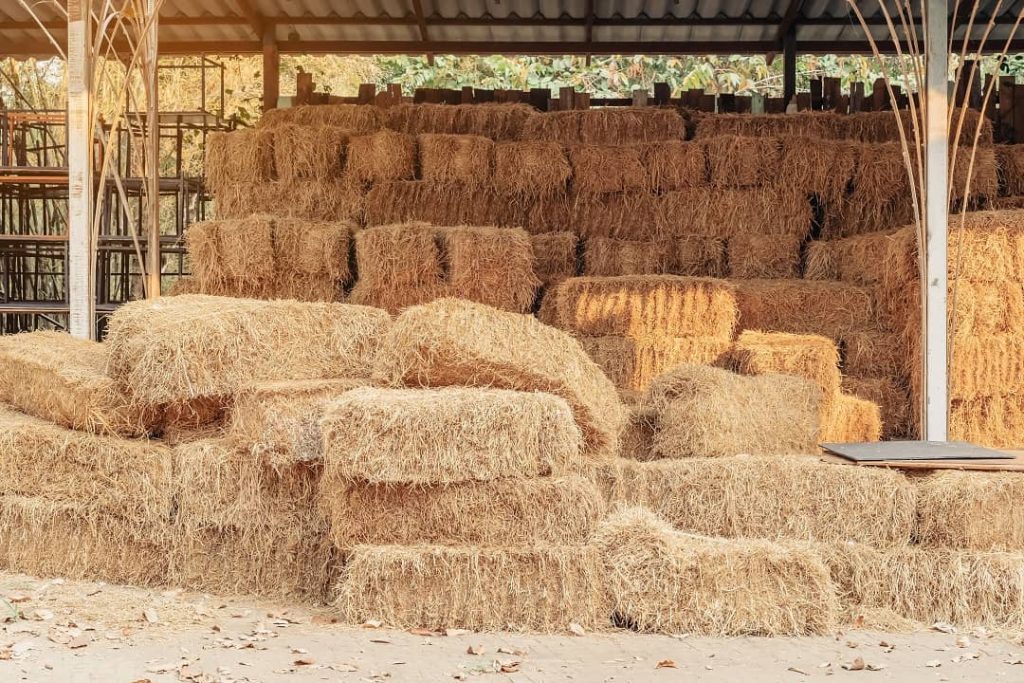
How you stack hay bales affects airflow, structural stability, and the rate at which hay deteriorates.
Hay naturally breaks down over time. Even when you store it properly, it loses vitamins like A and E. The longer you keep hay, the more nutritional value it loses.
To reduce waste:
Remember, A FIFO system lowers the risk of mold or pests developing unnoticed in older bales.
If you think storing hay properly is a job well done, then you are wrong! You need to check it regularly to prevent problems from getting worse.
If you find signs of heating, separate the affected bales immediately. Hay fires are real and often begin from spontaneous combustion caused by microbial activity in moist bales.
Where you live should determine how you store hay. There are humid, dry, and cold climates. So you need to store your hay accordingly.
Technology is helping reduce waste and labour with tools such as:
Pro tip: Invest in the right equipment for long-term savings, especially if you have large-scale operations.
Storing hay the right way isn’t just about keeping mold away — it’s about keeping your feed nutritious, your animals healthy, and your hard-earned money from going to waste.
Whether you’re stacking small square bales in a barn or managing hundreds of round bales in open fields, applying best practices in moisture control, ventilation, stacking, and monitoring will make a measurable difference.
Don’t let mold, waste, or spoilage eat into your farm’s profits. With proper planning and regular maintenance, your hay can stay fresh, safe, and nutritious throughout the year.
Ready to cut down on hay waste and make feeding more efficient?
Then visit HayBoss Feeders to explore their innovative hay feeder solutions designed to reduce spoilage and save you money year-round.
Smart hay storage starts with the right tools. Make HayBoss part of your barn today!